
The Perfect Bone-In Ribeye Steak (Restaurant Quality, Straight From the Restaurant)
If you’re looking for a top-quality steak, the bone-in ribeye is the way to go. Richly marbled, deeply flavorful, and incredibly juicy, when prepared correctly, this cut of meat will provide you with a true steak-quality steak, straight from your kitchen.
In this complete guide, you’ll learn:
Why is the bone-in ribeye considered the king of steaks?
The science behind marbling and flavor.
Step-by-step cooking methods (frying pan + oven + grill).
A guide to temperatures for perfect doneness.
Tips from professional chefs.
Common mistakes to avoid.
The best side dishes and sauces.
Frequently asked questions.
Let’s dive in.
What makes the bone-in ribeye so special?
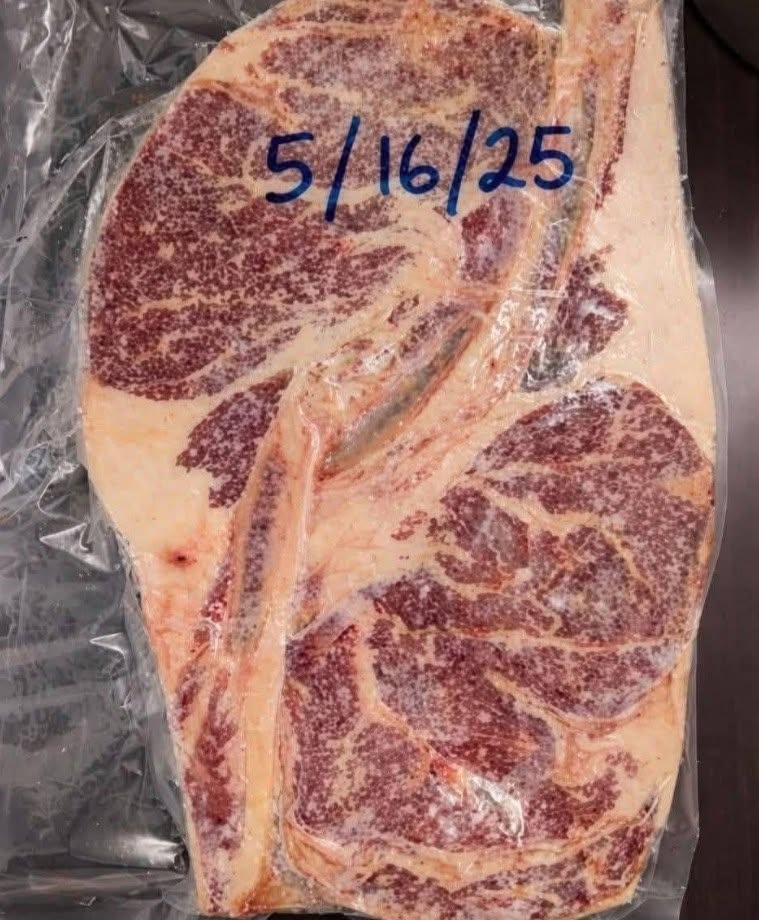
Rib eye steak comes from the cow’s ribs, specifically from ribs 6 to 12. This area is minimally processed, meaning the meat remains tender. What truly makes rib eye steak unique is its intense marbling—white streaks of fat running through the meat.
1. High marbling = Maximum flavor
. Fat equals flavor. As the steak cooks, the intramuscular fat melts and coats the meat from the inside, giving it a juicy, buttery texture.
2. Bone adds depth
The bone helps retain moisture and acts as a heat conductor, ensuring the meat around it cooks evenly and remains tender.
3. Ideal for frying at high temperatures.
Due to its fat content, rib eye steak tastes great when fried at high temperatures. It creates a crispy, caramelized crust while remaining juicy inside.
Ingredients:
1 thick, bone-in ribeye steak (5-6 cm thick, approx. 1-1.3 kg)
Kosher salt (generous)
Freshly ground black pepper
2 tablespoons unsalted butter
2 cloves garlic, crushed
Fresh rosemary or thyme
1 tablespoon high-smoke point oil (avocado or olive oil)
Step 1: Preparing the Steak (critical for success)
1. Bring to room temperature.
Remove the steak from the refrigerator 45-60 minutes before cooking. Cold meat cooks unevenly.
2. Dry thoroughly. Moisture
