
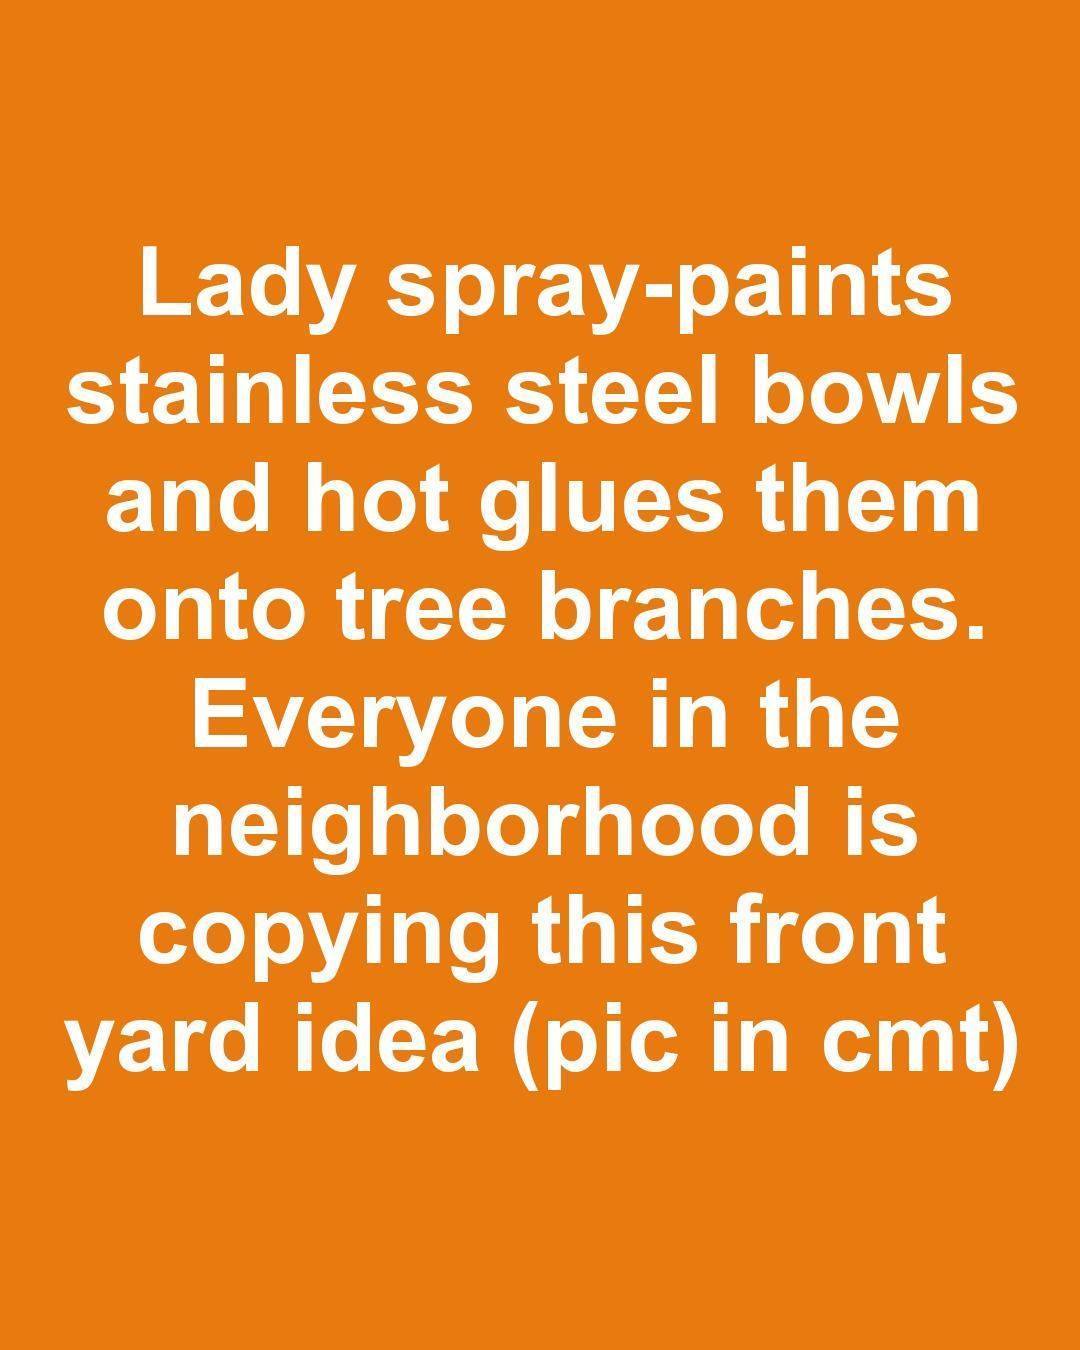
Select sturdy tree branches that will serve as the stems of your mushrooms. Make sure they are strong enough to support the weight of the bowls.
Attach the bowls to the branches using a hot glue gun. Position the bowl so that the open side faces down, resembling a mushroom cap.
Place warm white LED lights underneath each bowl, ensuring they are secure and will not fall out. If using puck lights, attach them to the inside of the bowl with adhesive or additional glue.
Position your completed mushroom lights in your desired garden location, ensuring they are stable and the lights can be easily turned on and off.
Variations & Tips
To personalize this DIY project, consider using different colors for the mushroom caps, such as blue or yellow, for a unique twist. You can also experiment with different types of lights, such as solar-powered LEDs, to make the installation more eco-friendly. For a larger display, vary the sizes of the bowls and branches to create a more dynamic landscape. Additionally, using metallic paints or adding a glossy finish can give the mushrooms a more modern, sleek look.
